
If you’ve ever tried coloring a page in Procreate only to watch your colors spill outside the lines, or cover them, you’re not alone. You just gotta remind Procreate of a little thing called “boundaries.” Like you do with your cat who’s eyeing that cup on your counter (but this is 1000 times easier).
The trick is setting up your layers properly so Procreate knows where those lines actually are. This is, yes, a 10-step process. But you don’t need any advanced skills to get the job done. Plus, common troubleshooting tips will be covered.
We’ll also detail a few bonus tips that help in keeping your workflow smooth. For visual learners, there’s a step-by-step video at the end of the post so you can see everything in action.
How to Color in Procreate
This setup turns your coloring page into a reference layer, allowing the colors you fill in and draw to respect the boundaries. It also separates the line art from the layers you’re coloring so you can make adjustments that won’t affect the original lines.
Instructions
- Invert
After importing your coloring page, tap on the coloring page Layer and select Invert. - Copy
Tap on the coloring page Layer and select Copy. - New Layer
Make a new Layer. - Fill
Fill your new Layer with black. - Mask
Tap on the black Layer and select Mask. - Paste
Go to Actions > Paste. (Actions is the wrench icon on the upper left. You’ll find the Paste option under the Add tab.) - Merge
Merge your black Layer with the coloring page Layer. (Use two fingers to pinch the layers together.) - Reference
Tap on the original coloring page Layer and select Reference. - Hide
Hide the Reference Layer. - New Layer
Make a new Layer. Place it above your Reference Layer and below your New Layer.
That’s it! You’ve taught Procreate to not cross the line. (Wish we could help you with your unruly cat!)
Eventually, this will become muscle memory and you’ll be able to set up your pages without this checklist.
Bonus Tips
Here are a few optional steps you can add into your workflow. Whether or not you include these steps will not effect the outcome of your prepped coloring sheet. However, they do make for a cleaner working environment when coloring in Procreate.
- Name Your Layers
Giving them a more meaningful name than “Layer 1,” Layer 2,” and so on is really helpful for staying organized. Especially if your project starts to amass a substantial amount of layers. - Start With Black
Whenever setting up a sheet, the first thing you should do is look at the Active Color. If it isn’t already set to black, do that first. This keeps you from mistakenly filling the page with a random color during the “Fill” step and having to refill it with black.
Troubleshooting
The most common troubleshooting question asked after prepping a coloring sheet is “Why aren’t my colors staying in the lines?” Usually one of these two resolve the issue:
- Check that your original line art layer is set to Reference.
- Check that your coloring layer is situated above the Reference layer and below your black line art.
In Action
Check out the entire process and a test of the color application in the video below. If you want to color the page seen in the video, you can find it in our alien coloring pages.
More Free Coloring Fun
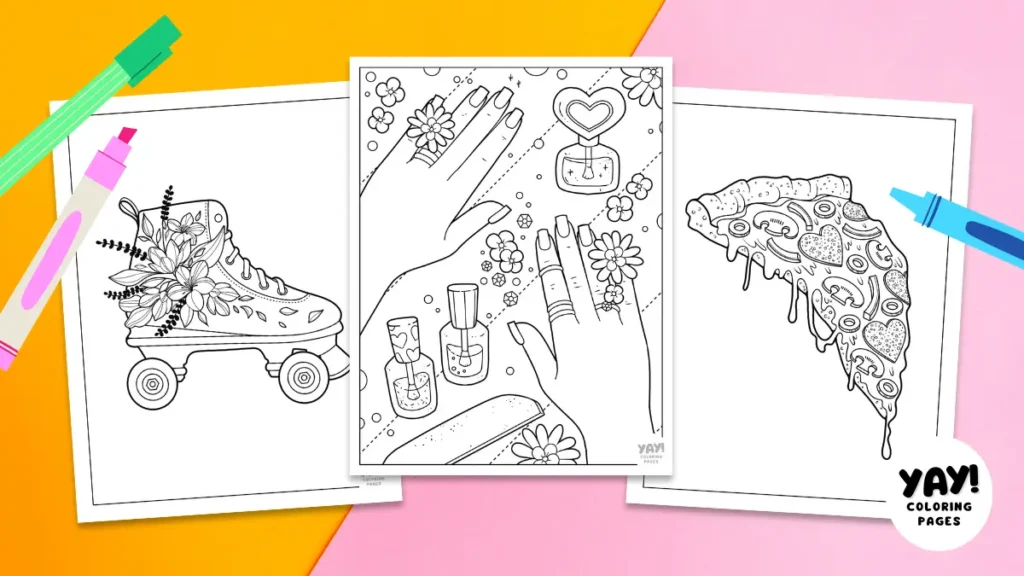
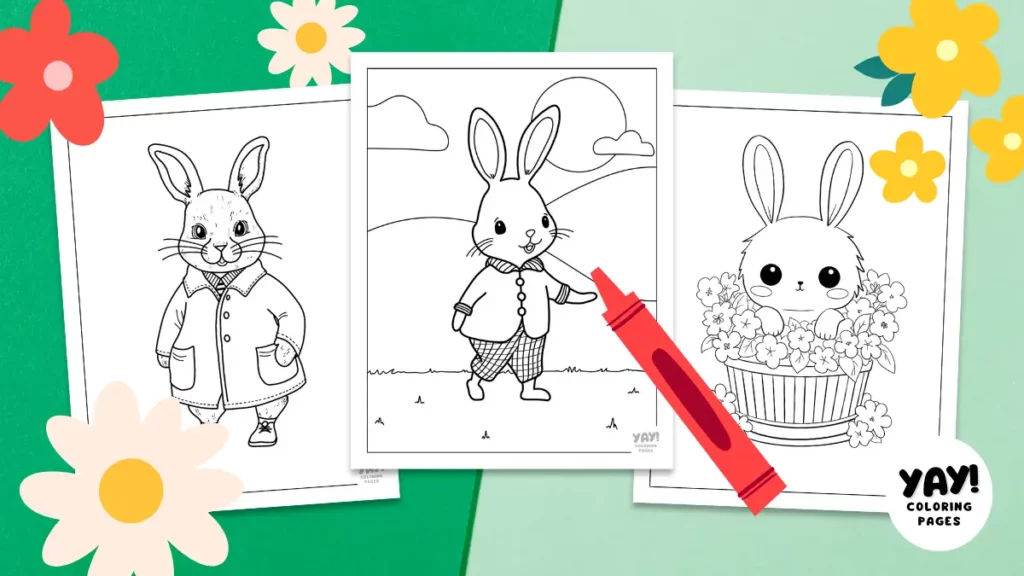
We hope your coloring page is prepped and ready for work! If you’re looking for more free coloring activities, check out our full collection of Coloring Pages. Each hand drawn illustration offers kids and adults a creative activity they can do anytime.
Color with Us
Don’t forget to follow us on social media where we post updates about our latest coloring pages!

Is there a video of this anywhere? I’m not understanding.
Hi Mya, yes! You inspired me to make a video showing the process. I’ll be adding it to the post, but for now you can view it here.
https://bit.ly/pg-prep
It’s not working for me. It still colors outside the lines. I’ve followed the instructions exactly like 3 times and I can’t get it to work.